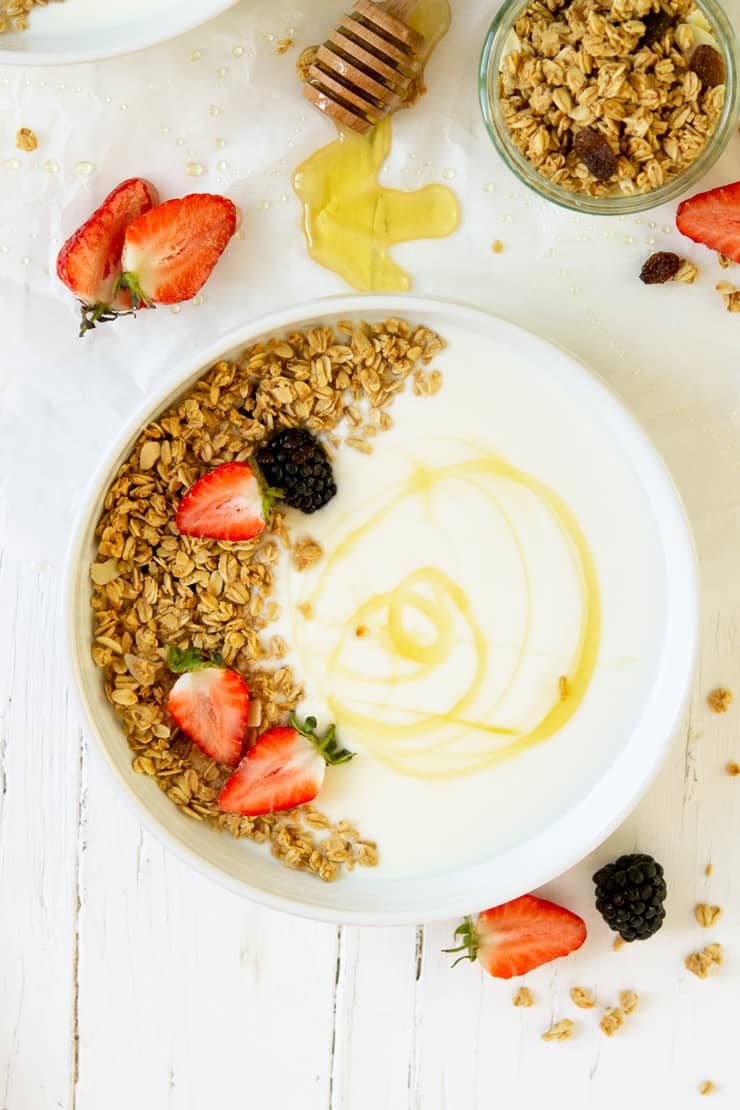
Thick and creamy homemade yogurt made in the crock pot is delicious, so easy to make, and 50% cheaper than store-bought yogurt! Top with granola and fresh fruit for a healthy and nutritious breakfast or snack.
What if I told you that you could make your own delicious, thick, and creamy yogurt at home for 50% less than what you pay at the store?
It’s true – and all you need to do it are three simple ingredients and your slow cooker!
About a month ago, I shared recipes for naturally-sweetened Vanilla, Strawberry, or Blueberry Drinkable Yogurt in the Crock Pot. We (especially the kids) still enjoy the drinkable variety, but I really wanted to find a method of thickening it to create a spoonable yogurt as well.
Making Thick And Creamy Homemade Yogurt
After doing some research, I landed on grass-fed gelatin*as a thickener. This post from Carrie over at Deliciously Organic describes how to use gelatin when making yogurt in a yogurt maker. I had to experiment a bit with the amount of gelatin and at what point in the process to add it to the milk since I use a crock pot instead. A little trial and error and – Tadah! – the easiest ever recipe for perfectly creamy homemade yogurt!
* Does eating gelatin give you the heebie jeebies? I wasn’t so sure either, but this article about the historical uses of gelatin (from healthy, pastured animals) to aid digestion, optimize bone and joint health, and to help combat allergies really got me thinking. In addition to the scientific stuff, utilizing more of the animal resonates with my desire to embrace whole, healthy foods in their created form as a gift from God.
Still not convinced? Use dry milk powder as a thickener instead (I would estimate 1/2 cup to 2/3 cup would be needed for this recipe).
This recipe makes a delicious plain yogurt, but my favorite way to eat it is with a few drops of pure vanilla extract and a little honey or pure maple syrup for a lightly sweetened, vanilla flavor.
How To Make Homemade Yogurt
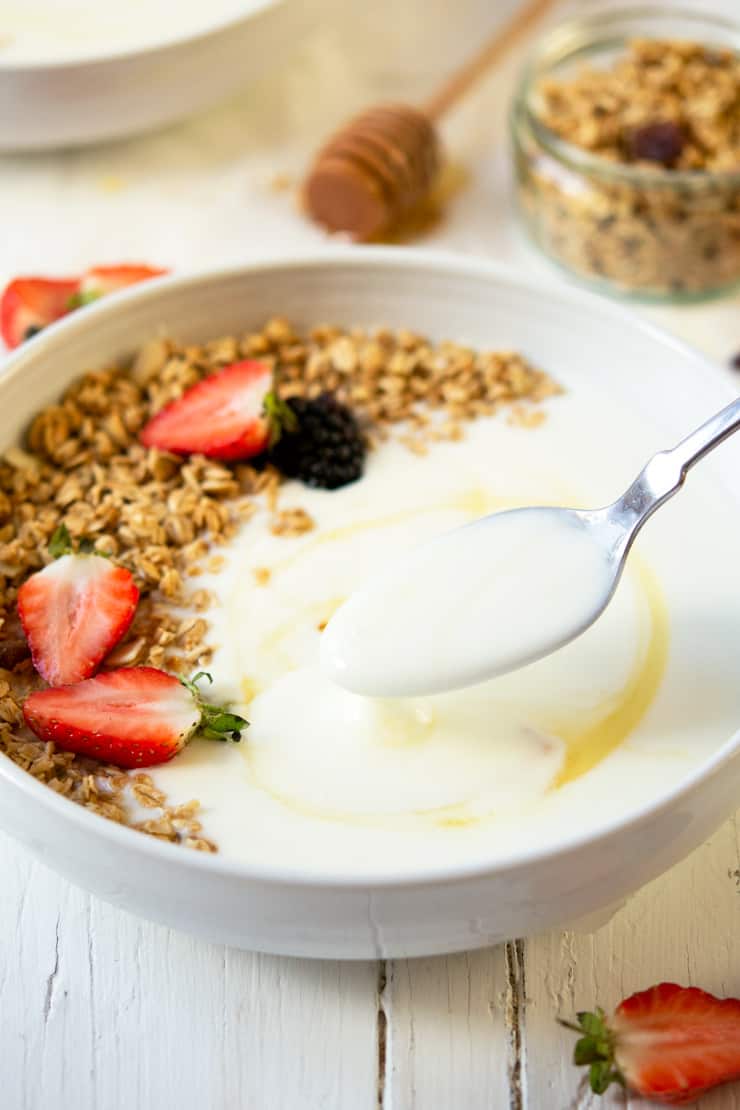
The consistency is very much like the European style plain yogurt I used to buy from Trader Joe’s. The creamy thickness holds up nicely to stir-ins and toppings, making it an easy and healthy breakfast staple at our house. More gelatin (or dry milk powder) could be added if you’re looking for a stiffer, Greek yogurt texture.
It can also be packed for lunch, either plain or with chia seeds, trail mix, or other healthy additions – Probiotics, antioxidant-rich super fruits, omega-3’s and fiber, all one tiny jar!
Tips For Making Homemade Yogurt
- I highly recommend setting a timer for each stage, and using a thermometer to learn exactly how long your own slow cooker takes to reach the designated temperatures.
- I’ve found that it works well for me to start this around lunch time since I’m usually home in the afternoons to tend to Steps 1 & 2, and the “incubation” (Step 3) can happen overnight.
- If using a lower fat milk, additional gelatin or dry milk powder will be needed to thicken the yogurt sufficiently.
I’m beginning our transition to using exclusively raw milk at home, but I used pasteurized milk for this recipe. For helpful tips on making yogurt from raw milk, check out this article.
Ready to make a batch of creamy, homemade yogurt with virtually no effort, and save money at the same time? Here you go!

Creamy Homemade Yogurt in the Crock Pot {Plain or Vanilla}
Ingredients
- 1/2 gallon organic milk
- 3 tsp grass-fed gelatin
- 6 oz plain organic yogurt with live cultures check the label as a starter culture
Optional Ingredients for Vanilla Flavoring
- 1/2 cup pure maple syrup or honey
- 1 1/2 Tbsp pure vanilla extract
Instructions
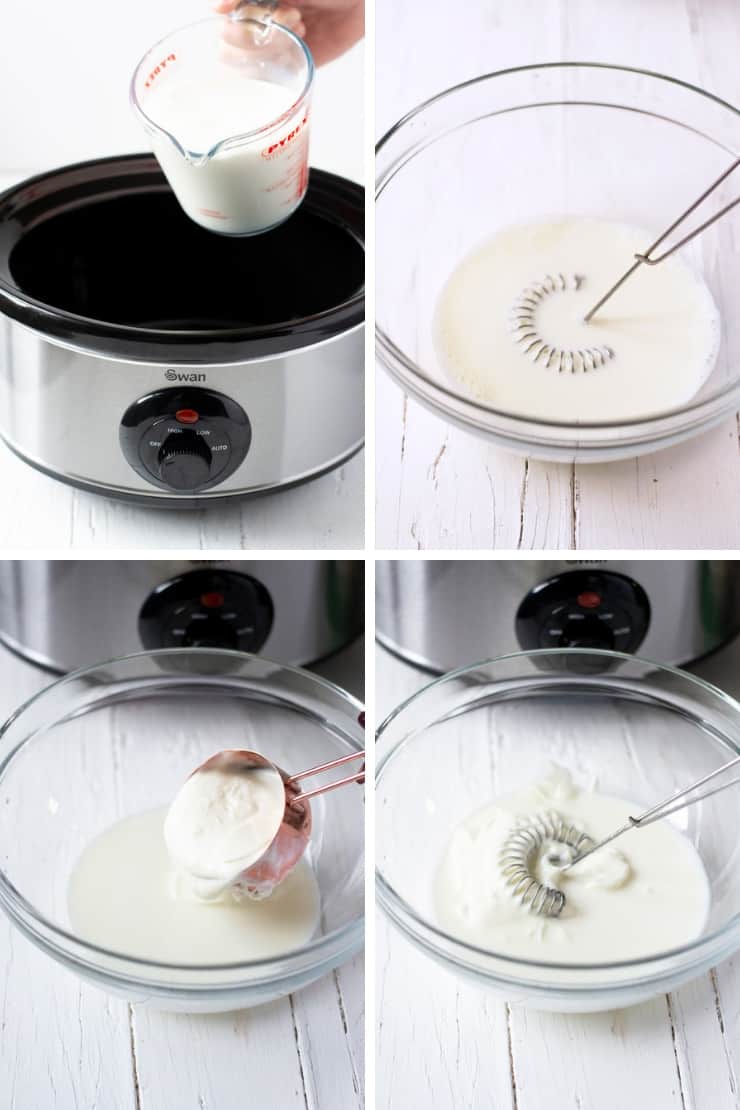
- Step 1: Pour 1/2 gallon of milk into the Crock Pot and cook for 3 hrs on low setting, or until the mixture reaches a temperature of between 150-175 degrees.
- Step 2: Ladle 1/2 to 1 cup of heated milk into a bowl and add gelatin, 1 tsp at a time, whisking constantly so that no clumps form. Return milk-gelatin mixture back to Crock Pot and give it a good whisk (If you mixed them gradually, you shouldn't have clumps; but, if you do, use a fine mesh strainer to pour the milk-gelatin mixture back in to remove clumps).
- Step 3: Turn Crock Pot off and allow the milk to rest for 2-3 hrs, until the mixture cools to around 110 degrees (if milk is 115 degrees or above, bacteria in the starter can be damaged).
- Step 4: Ladle 1/2 to 1 cup of milk from the Crock Pot into a small bowl and whisk in the yogurt starter. Add this mixture back into the Crock Pot and give it a few gentle stirs. Cover the entire Crock Pot (still turned off) with a couple of large towels or a large blanket, and allow to incubate for 8-12 hours.* (The longer the incubation, the higher the acidity and the more tart the yogurt - I usually incubate for 10-11 hours)
- * I have read from others online that, if the ambient temperature is below 70 degrees or so, it's very hard for the cultures to work during Step 4. If your home is cooler than 70, consider placing an inexpensive painter's light or heat lamp nearby.
- Step 5: Remove about 6oz of the plain yogurt and reserve as a starter for your next batch. Add ingredients for vanilla flavoring if desired. Yogurt will continue to firm up once refrigerated and will keep for a couple of weeks.
Notes
2. I've found that it works well for me to start this around lunch time since I'm usually home in the afternoons to tend to Steps 1 & 2, and the "incubation" (Step 3) can happen overnight.
3. If using a lower fat milk, additional gelatin or dry milk powder will be needed to thicken the yogurt sufficiently.
Note: This post contains affiliate links. By making purchases through these links, you’ll be sending extra change my way to fund future yogurt-making-expeditions. Thanks!


I tried a new thing!
I added several pumps of coffeemate hazelnut a tad of splenda, a bit of hot chocolate mix, then instant coffee until it all tasted cappuccino- like, then proceeded as usual. Nice cappi-yogurt.
Glad you were able to add your own touches, Terri! 🙂
You should be a part of a contest for one of the best
sites online. I will recommend this site!
You’re too kind. 🙂
Have you ever had your yogurt turn brown on the bottom? My yogurt has been in the fridge for over a week and there are brown spots on the bottom.
I haven’t – I’d definitely suggest you throw that batch out, just to be safe.
Can this be made with raw milk?
Yes it can, Laura. Raw milk tends to produce a runnier yogurt than pasteurized milk so you may consider using either part milk and part cream, or increasing the grass fed gelatin very slightly. Thanks for your question!
Ok good to know. Thanks for your response.
Has your yogurt ever set? I believe that if you ‘crowd the culture’ too much it may not set. I would use less yogurt for your starter – I think my recipe calls for 2 tablespoons per half gallon, and it may get thicker.
You might be right – I’ll try reducing it next time I make it…though I also like the health benefits of the gelatin used to thicken it. Thanks for the tip, Beth!
(In response to a question submitted by Tamara: “Have you or anyone tried this recipe with coconut milk? I have allergies to dairy.”)
My answer: I haven’t tried making yogurt from nondairy milks myself, but The Kithn has a great primer (with recipe) on making coconut milk yogurt – click here to read it!
Have you or anyone tried this recipe with coconut milk? I have allergies to dairy.
Where do I buy grass-fed gelatin? Is it pork or beef based because I no longer eat pork products.
Hi Shari,
Thanks for visiting and for your question. Click here for the beef gelatin I buy. Blessings!
Instead of using a crockpot, I have found that my oven stays the right temperature if I leave the light on. I like to make my 1/2 gallon of yogurt in four wide mouth half-pint jars. Since I can put them right in the refrigerator without scooping into another container the texture seems to stay nicer than when I used my crockpot.
I love these tips for the oven method – thanks for sharing them, Theresa!
Dena,
Why add gelatin to the yogurt? Thickening? I make full cream yogurt from either half and half or heavy wipping cream. After cooking at about 105 degrees for 11 hours, it is about the consistency of custard. Even using regular milk, I can adjust the thickness by how long I cook it.
Love your site.
Thanks for reading the blog, Ralph. I’m glad you enjoy it, and I appreciate your comment. Yes, I use gelatin for thickening…though I admit that custard style yogurt made from heavy cream sounds fabulous! 🙂